Get Hide My IP
Android, Windows, Mac, Linux, iOS
Android, Windows, Mac, Linux, iOS
Mon - Fri : 9am to 4pm PST
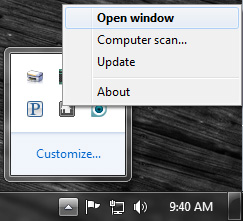
Move your mouse to the system tray. The system tray is on the bottom right side of your screen by the clock. If you have Windows 7 you may need to select the triangle in order to access the icons in the system tray. Right click on the E-Set icon and left-click "Open window".
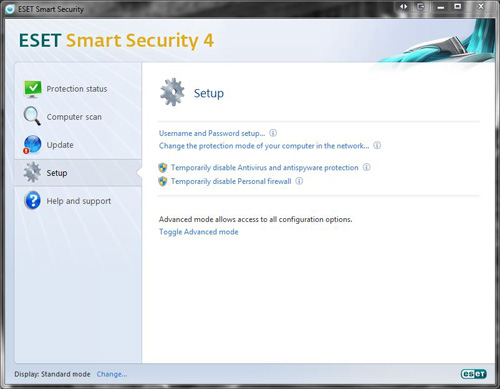
In the navigation bar on the left select "Setup".
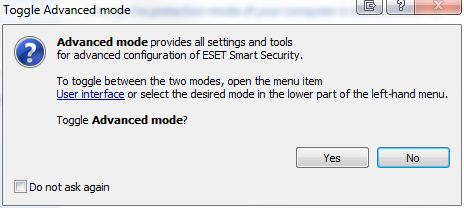
In the right pane of the window select "Toggle Advanced Mode". When prompted select "Yes".
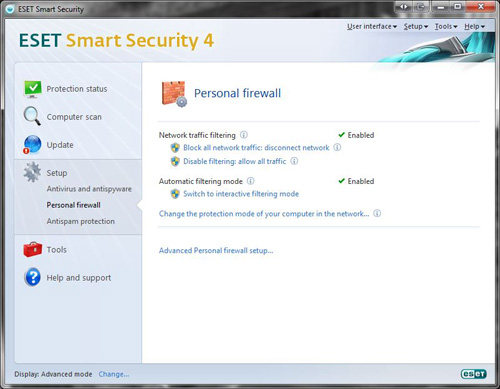
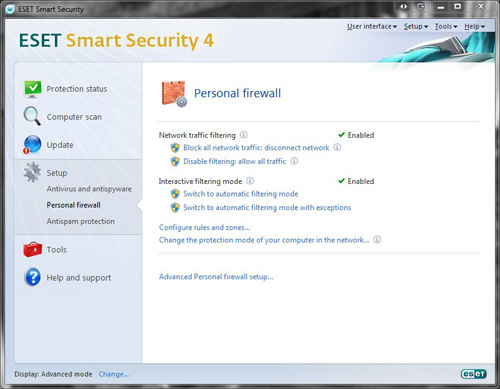
Under "Setup" in the left navigation menu select "Personal firewall".
Select "Configuration rules and zones...".
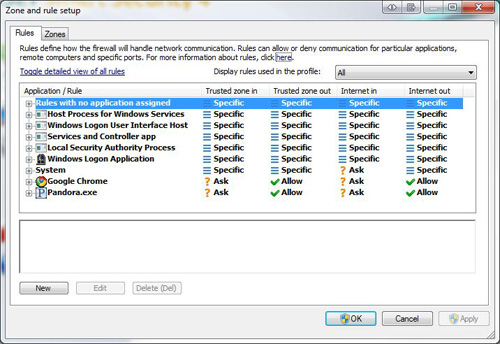
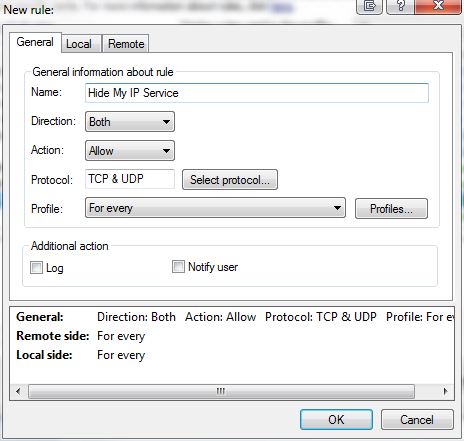
Select the "New" button.
Name the new rule "Hide My IP". Change the settings to match the window below. Then switch to the "Local" tab.
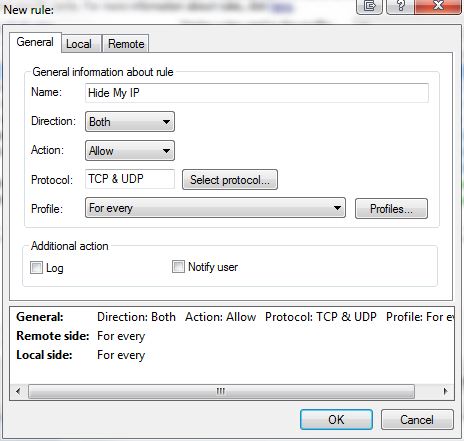
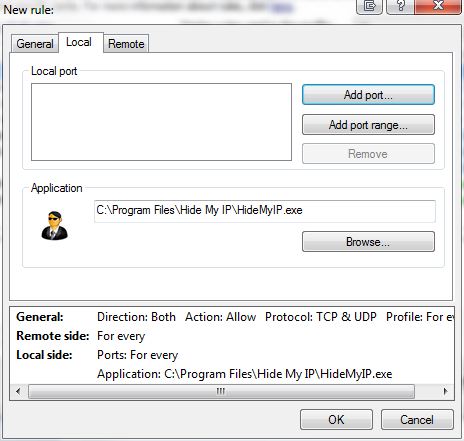
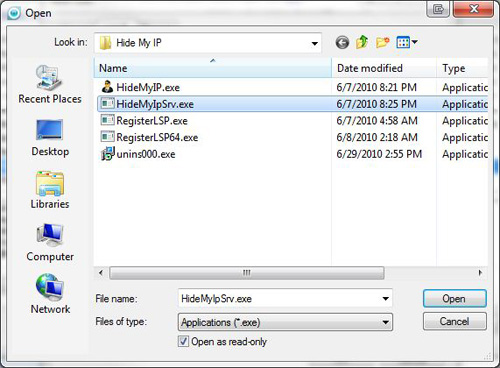
In the local tab select browse. Browse the list starting from "My Computer" to the Hide My IP folder. The path for this is c:\Program Files\Hide My IP. If you are running a 64bit OS then the Hide My IP folder will be in "Program Files (x86)" instead of in "Program Files". Select HideMyIP.exe.
Ensure that it says "allow" in all columns for Hide My IP.
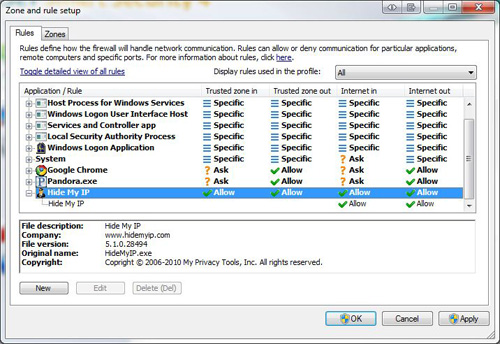
Repeat the above steps to add HideMyIPSrv.exe as well.
HideMyIPSrv.exe is found in the same folder for browsing. Once added ensure that it says "Allow" in all columns.